
Repository Summary
| Description | |
| Checkout URI | https://github.com/robolaunch/cloudy.git |
| VCS Type | git |
| VCS Version | main |
| Last Updated | 2023-05-16 |
| Dev Status | UNKNOWN |
| Released | UNRELEASED |
| Contributing |
Help Wanted (-)
Good First Issues (-) Pull Requests to Review (-) |
Packages
| Name | Version |
|---|---|
| mecanum_control | 0.0.0 |
| rf2o_laser_odometry | 0.1.0 |
| robolaunch_cloudy_bringup | 0.0.0 |
| robolaunch_cloudy_description | 0.0.0 |
| robolaunch_cloudy_hardware | 0.0.0 |
| robolaunch_cloudy_navigation | 0.0.0 |
| robolaunch_cloudy_simulator | 0.0.0 |
| sllidar_ros2 | 1.0.1 |
README
 robolaunch Cloudy
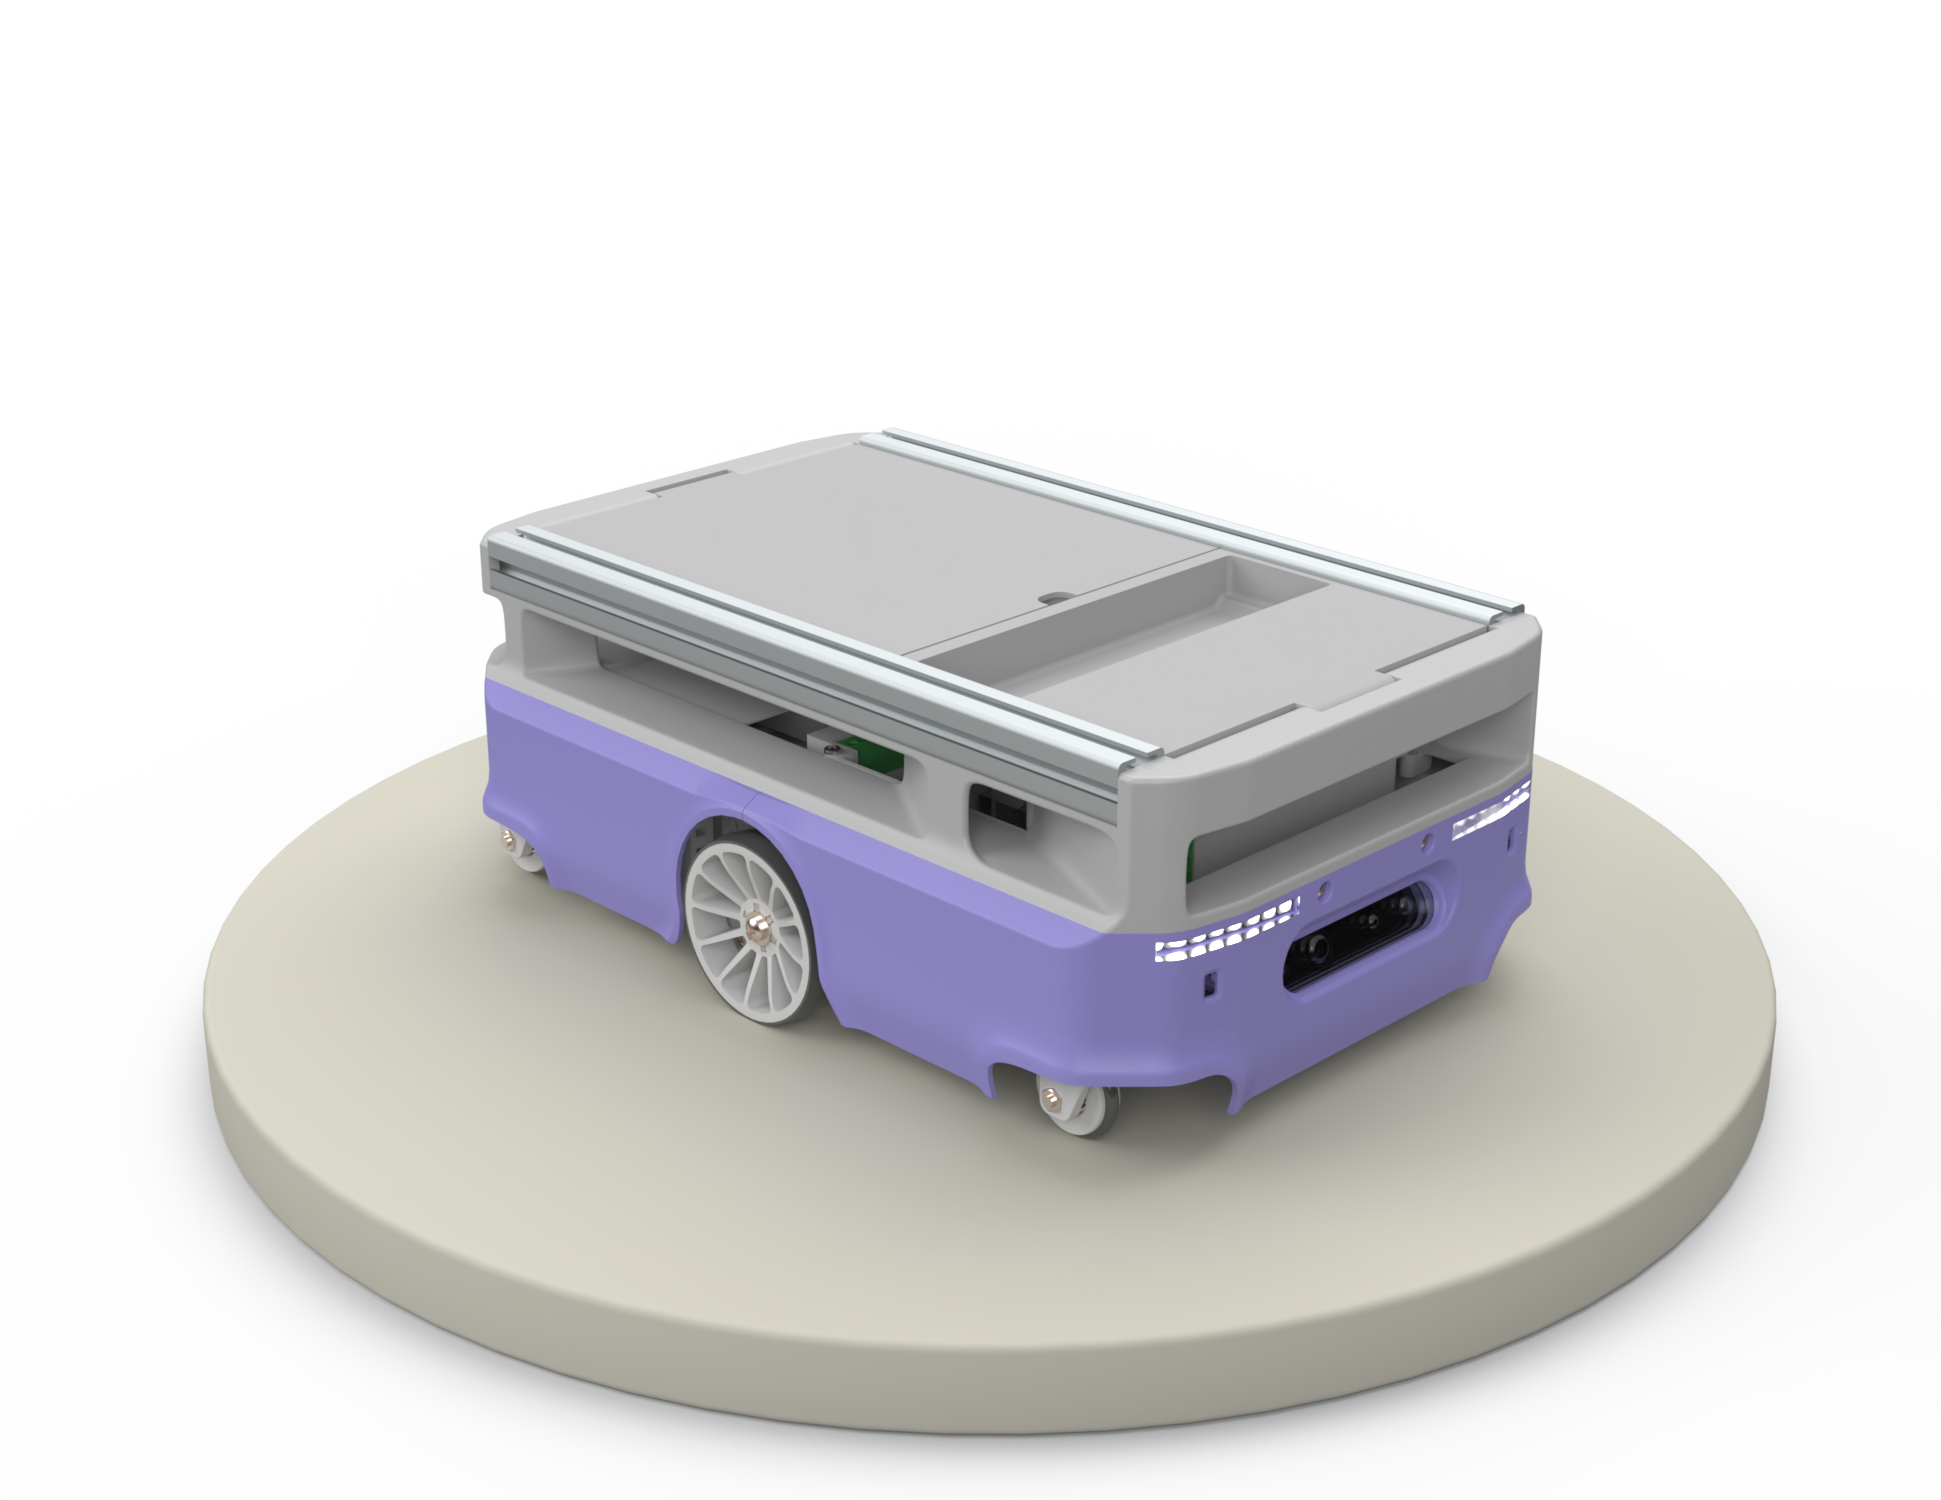


Table of Contents
Overview
Cloudy is an open-source, 3D-printed robot designed and built by Robolaunch. With its advanced capabilities and innovative design, Cloudy is poised to become a key player in the world of robotics. Whether you’re a seasoned DIY enthusiast or just getting started in the world of robotics, Cloudy has something to offer.
- Explore the world of robotics and learn about the latest technology and techniques
- Build, customize, and program your own robot using open-source software and hardware
- Experiment with sensors, motors, and other components to see what Cloudy can do
- Share your creations and collaborate with others in the ROS community
Quick Start
Simulation
If you do not currently have access to a physical Cloudy robot, you can use the Gazebo simulation for experimentation.
To clone the Cloudy repository, you will need to have Git and ROS installed on your system. You can check offical guide for installing Git and ROS. Once both are installed, you can use the following commands to clone the repository:
- Create a new workspace
mkdir cloudy_ws/src -p && cd cloudy_ws/
- Clone the repository
git clone https://github.com/robolaunch/cloudy.git src
- Init rosdep if you have not already
sudo rosdep init
- Install dependencies
sudo rosdep update && rosdep install --from-paths src --ignore-src -y
- Source your ROS distribution
source /opt/ros/$ROS_DISTRO/setup.bash
- Build the repository
colcon build && source install/setup.bash
- Launch the simulation
ros2 launch robolaunch_cloudy_simulator launch_sim.launch.py
- Control the robot
In a separate terminal, source the ROS installation and run teleop node
source /opt/ros/$ROS_DISTRO/setup.bash && ros2 run teleop_twist_keyboard teleop_twist_keyboard
Real Robot
\
File truncated at 100 lines see the full file
CONTRIBUTING
Contributing
First of all, thank you for considering to contribute this project! We would be thrilled if you decide to contribute on any level. A collaborative work is essential for keeping it great, and improve the term cloud robotics.
Please note that this project is released with a Contributor Code of Conduct. By participating in this project you agree to abide by its terms.
Architecture and Roadmap
robolaunch uses the approach of open-architecture. Architecture and roadmap details will be added to wiki page of this project.
Creating An Issue
You can use issue forms to create issues. There are two types of issue forms and they’ll help you to explain feature suggestions and bugs.
- Feature Request
- Bug Report
Submitting A Pull Request
1. Fork and clone the repository.
2. Create a new branch: git checkout -b my-branch-name
3. Make your change and remember to add tests.
4. Build the project locally and run local tests.
5. Push to your fork and submit a pull request using pull request template.
6. Pat your self on the back and wait for your pull request to be reviewed and merged.
Here are a few things you can do that will increase the likelihood of your pull request being accepted:
- State the issues that your pull request fixes or satisfies.
- Write tests. (or define test requirements)
- Keep your change as focused as possible. If there are multiple changes you would like to make that are not dependent upon each other, submit them as separate pull requests.
- Use Conventional Commit format when typing a commit message (
<type>[optional scope]: <description>). Start your description with an emoji you find related to that commit. - Follow style guide when writing your code.
Resources
Repository Summary
| Description | |
| Checkout URI | https://github.com/robolaunch/cloudy.git |
| VCS Type | git |
| VCS Version | main |
| Last Updated | 2023-05-16 |
| Dev Status | UNKNOWN |
| Released | UNRELEASED |
| Contributing |
Help Wanted (-)
Good First Issues (-) Pull Requests to Review (-) |
Packages
| Name | Version |
|---|---|
| mecanum_control | 0.0.0 |
| rf2o_laser_odometry | 0.1.0 |
| robolaunch_cloudy_bringup | 0.0.0 |
| robolaunch_cloudy_description | 0.0.0 |
| robolaunch_cloudy_hardware | 0.0.0 |
| robolaunch_cloudy_navigation | 0.0.0 |
| robolaunch_cloudy_simulator | 0.0.0 |
| sllidar_ros2 | 1.0.1 |
README
robolaunch Cloudy
Table of Contents
Overview
Cloudy is an open-source, 3D-printed robot designed and built by Robolaunch. With its advanced capabilities and innovative design, Cloudy is poised to become a key player in the world of robotics. Whether you’re a seasoned DIY enthusiast or just getting started in the world of robotics, Cloudy has something to offer.
- Explore the world of robotics and learn about the latest technology and techniques
- Build, customize, and program your own robot using open-source software and hardware
- Experiment with sensors, motors, and other components to see what Cloudy can do
- Share your creations and collaborate with others in the ROS community
Quick Start
Simulation
If you do not currently have access to a physical Cloudy robot, you can use the Gazebo simulation for experimentation.
To clone the Cloudy repository, you will need to have Git and ROS installed on your system. You can check offical guide for installing Git and ROS. Once both are installed, you can use the following commands to clone the repository:
- Create a new workspace
mkdir cloudy_ws/src -p && cd cloudy_ws/
- Clone the repository
git clone https://github.com/robolaunch/cloudy.git src
- Init rosdep if you have not already
sudo rosdep init
- Install dependencies
sudo rosdep update && rosdep install --from-paths src --ignore-src -y
- Source your ROS distribution
source /opt/ros/$ROS_DISTRO/setup.bash
- Build the repository
colcon build && source install/setup.bash
- Launch the simulation
ros2 launch robolaunch_cloudy_simulator launch_sim.launch.py
- Control the robot
In a separate terminal, source the ROS installation and run teleop node
source /opt/ros/$ROS_DISTRO/setup.bash && ros2 run teleop_twist_keyboard teleop_twist_keyboard
Real Robot
\
File truncated at 100 lines see the full file
CONTRIBUTING
Contributing
First of all, thank you for considering to contribute this project! We would be thrilled if you decide to contribute on any level. A collaborative work is essential for keeping it great, and improve the term cloud robotics.
Please note that this project is released with a Contributor Code of Conduct. By participating in this project you agree to abide by its terms.
Architecture and Roadmap
robolaunch uses the approach of open-architecture. Architecture and roadmap details will be added to wiki page of this project.
Creating An Issue
You can use issue forms to create issues. There are two types of issue forms and they’ll help you to explain feature suggestions and bugs.
- Feature Request
- Bug Report
Submitting A Pull Request
1. Fork and clone the repository.
2. Create a new branch: git checkout -b my-branch-name
3. Make your change and remember to add tests.
4. Build the project locally and run local tests.
5. Push to your fork and submit a pull request using pull request template.
6. Pat your self on the back and wait for your pull request to be reviewed and merged.
Here are a few things you can do that will increase the likelihood of your pull request being accepted:
- State the issues that your pull request fixes or satisfies.
- Write tests. (or define test requirements)
- Keep your change as focused as possible. If there are multiple changes you would like to make that are not dependent upon each other, submit them as separate pull requests.
- Use Conventional Commit format when typing a commit message (
<type>[optional scope]: <description>). Start your description with an emoji you find related to that commit. - Follow style guide when writing your code.