
|
roboracer-3dlidar repositoryndt_omp_ros2 graph_based_slam lidarslam lidarslam_msgs scanmatcher livox_ros_driver2 scanmatcher_custom |
ROS Distro
|
Repository Summary
| Description | |
| Checkout URI | https://github.com/tum-avs/roboracer-3dlidar.git |
| VCS Type | git |
| VCS Version | main |
| Last Updated | 2026-01-07 |
| Dev Status | UNKNOWN |
| Released | UNRELEASED |
| Contributing |
Help Wanted (-)
Good First Issues (-) Pull Requests to Review (-) |
Packages
| Name | Version |
|---|---|
| ndt_omp_ros2 | 0.0.0 |
| graph_based_slam | 0.0.0 |
| lidarslam | 0.0.0 |
| lidarslam_msgs | 0.0.0 |
| scanmatcher | 0.0.0 |
| livox_ros_driver2 | 1.0.0 |
| scanmatcher_custom | 0.0.0 |
README
3D LiDAR SLAM and Localization on F1TENTH
 |
|
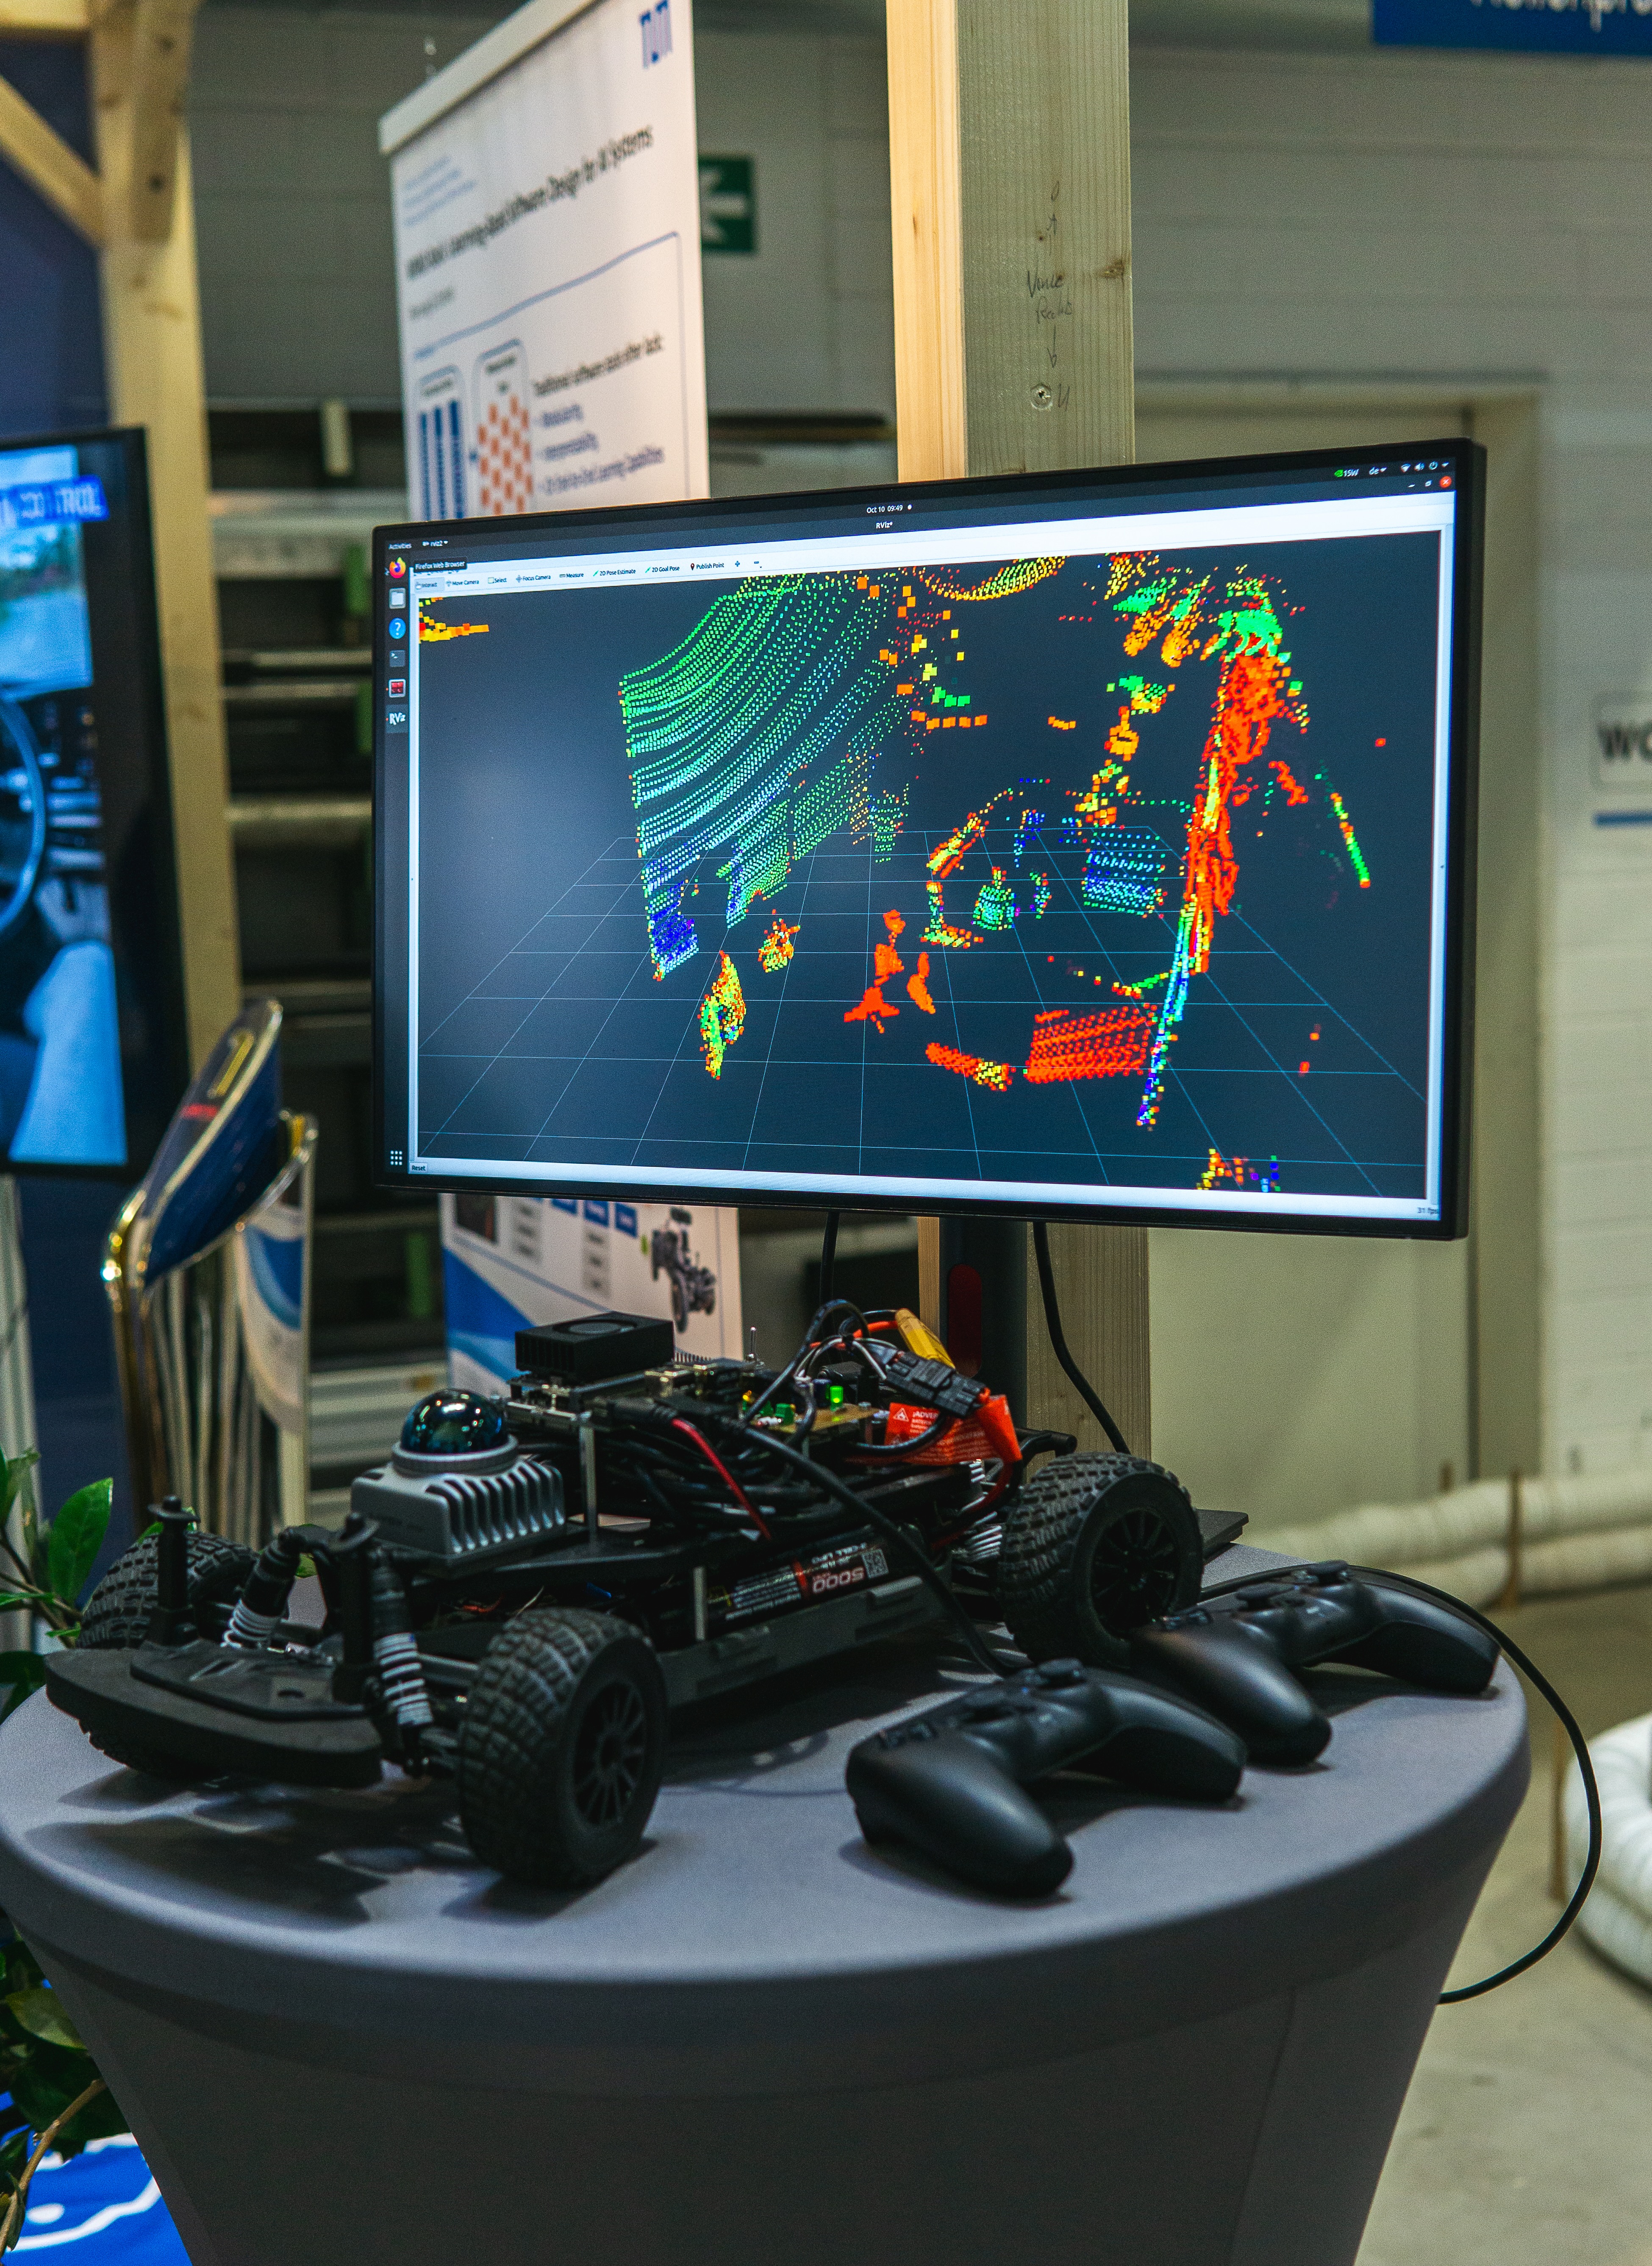
This repository provides the necessary drivers to operate the F1Tenth/RoboRacer cars equipped with the Livox MID-360 3D LiDAR sensor (Livox MID-360 product page). Additionally, we include a robust and tested 3D LiDAR SLAM package specifically validated for use with this LiDAR.
The provided setup is designed not to interfere with your existing workspace. This means switching between the original 2D sensor and the new 3D sensor is as easy as modifying your launch command.
The following instructions where tested and verifies on the following hard- and software on the 10th of March 2025
- Jetson Orin Nano 8GB Development Kit
- Jetpack 5.1.2
- ROS2 Foxy
You can find videos demonstrating the raw LiDAR data as well as 3D SLAM performance, as well as 3 rosbags via the following link: TUM SyncAndShare
Setup
- 3D print the Livox mounting plate: STL File.
- Attach the LiDAR to the plate, using the screws included in the MID-360 package.
- Press 4 M3 DIN 934 Hex Nuts into the respective places on the plate.
- Use 4 M3x16mm (e.g., DIN 912 or ISO 4762) screws to mount the plate and the LiDAR on the F1Tenth platform (platform width 10mm). Adapt the length of the screws if you’re platform is of a different width/thickness.
- Attach the power connectors of the LiDAR to the powerboard and the Ethernet cable to the Jetson. Take special attention to the polarity of the cables and your specific powerboard. Please thoroughly evaluate if you can use the LiDAR with your powerboard before first use.
- We recommend to raise the Jetson on your platform to accommodate for the Livox cable under it. We use 45mm standoffs for this task.
- Note down the IP-adress of your Livox LiDAR: “192.168.1.1XX”. Replace XX with the last two numbers of the LiDAR Serial Number, which can be found on a QR Code sticker on the back of the device (see “Images/Livox_SerialNumber.jpeg”).
Installation - Livox Driver
- Create a new workspace for this project, add a
srcdirectory and clone this repository into it:
mkdir -p ~/f1tenth_ws_3dlidar/src
cd ~/f1tenth_ws_3dlidar/src
git clone https://github.com/TUM-AVS/RoboRacer-3DLiDAR.git
- Run
./install.shfrom this directory. - Activate the new “Livox” network profile.
- Ping the LiDAR-sensor in the terminal to verify a successfull connection (replace XX with the same values as above):
ping 192.168.1.1XX
- Substitute the LiDAR IP in
livox_ros_driver2/config/MID360_config.jsonby changing “XX” to the last two digits of the LiDAR Serial Number, which can be found on a QR Code sticker on the back of the device. - Build the workspace in the main directory and source it (This can take up to 10 minutes.):
source ~/.bashrc
cd ..
colcon build
source install/setup.bash
- Rebuild the
f1tenth_stackfrom~/f1tenth_ws:
cd ~/f1tenth_ws
colcon build --packages-select f1tenth_stack
source install/setup.bash
Running the Code - Livox Driver
Launch the modified f1tenth_stack with
cd ~/f1tenth_ws
source install/setup.bash
ros2 launch f1tenth_stack bringup_launch_mid360.py
Running the Code - 3D LiDAR SLAM
Note: To transfer maps between Mapping and Localization, the car must start in the same position for when the respective nodes are launched. Depending on the environment, there may be some room for error in initial positioning.
Mapping
To run the SLAM Mapping Task and generate a Map, run
cd ~/f1tenth_ws
source install/setup.bash
ros2 launch lidarslam lidarslam.launch.py
from the Workspace root directory. The topics map, modified_map, path, modified_path and current_pose are available in rviz2 for visualization and further processing. Here, the “modified” topics are generated through additional loop closure.
Map Saving can be manually triggered with ros2 service call /map_save std_srvs/Empty with or without loop closure.
The node will overwrite the map.pcd file on the next startup, so it must be moved or archived if its data is to be kept for Localization or Viewing. Archiving generated maps in the ~/[3D SLAM WS]/map/ directory may be convenient.
Localization
To perform Localization, first, copy the map to be used to ~/[3D SLAM WS]/map/map.pcd, where it will then be loaded from upon node launch:
ros2 launch scanmatcher_custom mapping_robot.launch.py
The topics map, path and current_pose are available in rviz2 for visualization and further processing.
Configuration
Config files are available in lidarslam_ros2/lidarslam/param/lidarslam.yaml for SLAM and scanmatcher_custom/param/mapping_robot.yaml for Localization. For Information about configs see lidarslam_ros2/README.md.
Common Errors
From the livox_ros_driver2:
No point cloud display in RViz?
File truncated at 100 lines see the full file
CONTRIBUTING
|
|
roboracer-3dlidar repositoryndt_omp_ros2 graph_based_slam lidarslam lidarslam_msgs scanmatcher livox_ros_driver2 scanmatcher_custom |
ROS Distro
|
Repository Summary
| Description | |
| Checkout URI | https://github.com/tum-avs/roboracer-3dlidar.git |
| VCS Type | git |
| VCS Version | main |
| Last Updated | 2026-01-07 |
| Dev Status | UNKNOWN |
| Released | UNRELEASED |
| Contributing |
Help Wanted (-)
Good First Issues (-) Pull Requests to Review (-) |
Packages
| Name | Version |
|---|---|
| ndt_omp_ros2 | 0.0.0 |
| graph_based_slam | 0.0.0 |
| lidarslam | 0.0.0 |
| lidarslam_msgs | 0.0.0 |
| scanmatcher | 0.0.0 |
| livox_ros_driver2 | 1.0.0 |
| scanmatcher_custom | 0.0.0 |
README
3D LiDAR SLAM and Localization on F1TENTH
|
|
This repository provides the necessary drivers to operate the F1Tenth/RoboRacer cars equipped with the Livox MID-360 3D LiDAR sensor (Livox MID-360 product page). Additionally, we include a robust and tested 3D LiDAR SLAM package specifically validated for use with this LiDAR.
The provided setup is designed not to interfere with your existing workspace. This means switching between the original 2D sensor and the new 3D sensor is as easy as modifying your launch command.
The following instructions where tested and verifies on the following hard- and software on the 10th of March 2025
- Jetson Orin Nano 8GB Development Kit
- Jetpack 5.1.2
- ROS2 Foxy
You can find videos demonstrating the raw LiDAR data as well as 3D SLAM performance, as well as 3 rosbags via the following link: TUM SyncAndShare
Setup
- 3D print the Livox mounting plate: STL File.
- Attach the LiDAR to the plate, using the screws included in the MID-360 package.
- Press 4 M3 DIN 934 Hex Nuts into the respective places on the plate.
- Use 4 M3x16mm (e.g., DIN 912 or ISO 4762) screws to mount the plate and the LiDAR on the F1Tenth platform (platform width 10mm). Adapt the length of the screws if you’re platform is of a different width/thickness.
- Attach the power connectors of the LiDAR to the powerboard and the Ethernet cable to the Jetson. Take special attention to the polarity of the cables and your specific powerboard. Please thoroughly evaluate if you can use the LiDAR with your powerboard before first use.
- We recommend to raise the Jetson on your platform to accommodate for the Livox cable under it. We use 45mm standoffs for this task.
- Note down the IP-adress of your Livox LiDAR: “192.168.1.1XX”. Replace XX with the last two numbers of the LiDAR Serial Number, which can be found on a QR Code sticker on the back of the device (see “Images/Livox_SerialNumber.jpeg”).
Installation - Livox Driver
- Create a new workspace for this project, add a
srcdirectory and clone this repository into it:
mkdir -p ~/f1tenth_ws_3dlidar/src
cd ~/f1tenth_ws_3dlidar/src
git clone https://github.com/TUM-AVS/RoboRacer-3DLiDAR.git
- Run
./install.shfrom this directory. - Activate the new “Livox” network profile.
- Ping the LiDAR-sensor in the terminal to verify a successfull connection (replace XX with the same values as above):
ping 192.168.1.1XX
- Substitute the LiDAR IP in
livox_ros_driver2/config/MID360_config.jsonby changing “XX” to the last two digits of the LiDAR Serial Number, which can be found on a QR Code sticker on the back of the device. - Build the workspace in the main directory and source it (This can take up to 10 minutes.):
source ~/.bashrc
cd ..
colcon build
source install/setup.bash
- Rebuild the
f1tenth_stackfrom~/f1tenth_ws:
cd ~/f1tenth_ws
colcon build --packages-select f1tenth_stack
source install/setup.bash
Running the Code - Livox Driver
Launch the modified f1tenth_stack with
cd ~/f1tenth_ws
source install/setup.bash
ros2 launch f1tenth_stack bringup_launch_mid360.py
Running the Code - 3D LiDAR SLAM
Note: To transfer maps between Mapping and Localization, the car must start in the same position for when the respective nodes are launched. Depending on the environment, there may be some room for error in initial positioning.
Mapping
To run the SLAM Mapping Task and generate a Map, run
cd ~/f1tenth_ws
source install/setup.bash
ros2 launch lidarslam lidarslam.launch.py
from the Workspace root directory. The topics map, modified_map, path, modified_path and current_pose are available in rviz2 for visualization and further processing. Here, the “modified” topics are generated through additional loop closure.
Map Saving can be manually triggered with ros2 service call /map_save std_srvs/Empty with or without loop closure.
The node will overwrite the map.pcd file on the next startup, so it must be moved or archived if its data is to be kept for Localization or Viewing. Archiving generated maps in the ~/[3D SLAM WS]/map/ directory may be convenient.
Localization
To perform Localization, first, copy the map to be used to ~/[3D SLAM WS]/map/map.pcd, where it will then be loaded from upon node launch:
ros2 launch scanmatcher_custom mapping_robot.launch.py
The topics map, path and current_pose are available in rviz2 for visualization and further processing.
Configuration
Config files are available in lidarslam_ros2/lidarslam/param/lidarslam.yaml for SLAM and scanmatcher_custom/param/mapping_robot.yaml for Localization. For Information about configs see lidarslam_ros2/README.md.
Common Errors
From the livox_ros_driver2:
No point cloud display in RViz?
File truncated at 100 lines see the full file